

This post contains affiliate links for your convenience. See my full disclosure policy.
Materials
How to make the spice rack
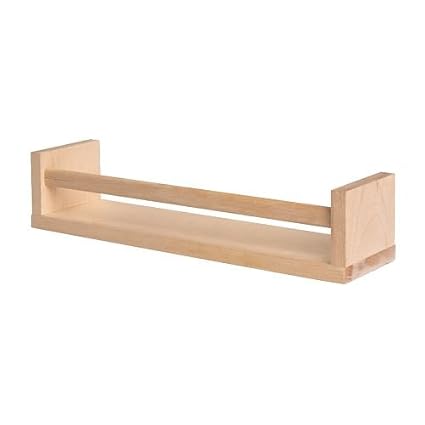
First, I put together the Ikea Bekvam shelves I bought...
I gave the shelves two coats of this black spray paint.

I borrowed my husband's awesome multi-tool to cut strips of hardware cloth. I used the same tool to bend and fold the edges of the hardware cloth into the corner of the spice rack. The pieces fit perfectly snug. I used a staple gun to secure the hardware cloth to the bar crossing over the front of the shelving, careful to keep the top edge of the wire from showing above the wooden bar.

Then, I made wood burned labels that said "spices" and "oils" using the same technique as I did for my pantry storage crates. To review those steps, you can find my wood burning tutorial here.

I had planned on gluing the wood burned labels on, but they just so happened to be the perfect size to fit snugly between the two pieces of wood! You could apply a little super glue or wood glue if needed.
The whole project was fairly quick and easy. Last, we mounted them on the wall and stocked them with these oil bottles and these spice jars.

I think they actually turned out even better than I imagined. They fit our new pantry design so perfectly!

I can't wait to share the rest of the pantry with you! Check back soon to see the reveal!!
Shop This Post:


You might also like...
DIY Wooden Crate Pantry Storage


These are amazing!
ReplyDeleteCuuuute! I need some these! I really love the wood tags and the wire mesh.
ReplyDeleteI love this makeover. The netting is the perfect touch. Stopping by to let you know you are being featured on Friday’s P3 Party post! Have a great week! Thanks for pinning!
ReplyDeleteBest,
Kim
I love these and would like to do this in my London flat. How do you go about mounting these to the wall once they're complete?
ReplyDeleteHi Marissa! If you buy the Ikea shelves I started the project with, they have holes in the back for hanging. Then they are easily mounted to the wall with nails or screws. I used some drywall anchors because I was worried about the weight of the oil bottles. They have held up just fine! Hope this helps :)
Delete