
Do you ever have a great light bulb moment when you are brainstorming? That's what happened to me when I was thinking about this month's Monthly DIY Challenge. To be honest, I was completely stumped on what on earth I was going to make with wooden beads. They've become pretty trendy these days with farmhouse style wooden bead garlands, but that's a trend that I just don't love that much (Sorry! 🤷 ). I scrolled Pinterest for what seemed like hours trying to find some inspiration, but nothing really stuck out to me.
Then one late night, while I was standing in the future playroom after painting the walls and daydreaming about how I should decorate to fit the vintage schoolhouse theme, it hit me. Duh! An abacus is totally schoolhouse-y (schoolhousey is officially a word). So I set out on a hunt for beads in primary colors to save myself the time of painting or dying them myself. I found this set, and have plenty leftover for some future project. So other than beads, here's what you need for this easy DIY abacus (FYI- this is purely decorative. I will not be handing it to my kids. It is not intended to be sturdy, and the beads are a dangerous choking hazard if it happened to be broken while they are playing with it. Please use your own judgement here.)


UPDATE- Click here to see it in our completed playroom!
This post contains affiliate links for your convenience. For more information, see my disclosure policy.
Materials:
- Colored wooden beads
- Dowel rods
- Photo frame (PS- These were so cheap, I bought several for other things!)
- Hot glue gun and glue
How to make a DIY abacus:
When gathering your supplies, be sure that your dowel diameter will fit through the beads. Dowels and beads both come in many sizes. Make sure you are choosing sizes that work with each other, and that will also fit in your frame. I used the smaller beads that came in this set, and brought one with me to the store to find appropriate sized dowels. I found mine in the craft department at Wal-Mart, but I can't find a link to the exact ones online.

Measure your dowels and cut them to the width of your frame. My dowels were thin enough that I could score them with kitchen scissors and then snap them. In past projects, I have used a utility knife or a hand saw, depending on the width of the dowels. Be careful of splinters!
Thread the beads onto the dowels in whatever pattern you like. I chose to put ten beads of the same color on each rod. I used five colors and made two dowels of each color.

Measure your spacing on the back of the frame, so that the dowels will be equal distance apart. Apply a small amount of glue to the frame with a hot glue gun, and place the ends of the dowels into the glue. I also put a bit of glue on top of the dowels after they were positioned to help further secure them.

Now you have a cute little abacus that you can hang on the wall! Yes, mine is laying on the floor in this photo 🙈 I will update once the playroom is finished so that you can see it in our new space!!! 🙂

UPDATE- Click here to see it in our completed playroom!
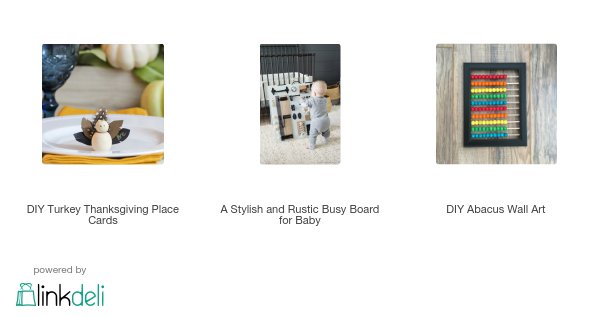
Check out my friends' wooden bead project ideas:


You might also like...


Super cute! I bet this is going to look great in your school room.
ReplyDeleteThis is the cutest! It's going to look fantastic in that playroom. Great idea, Nicole!
ReplyDeleteLove this project. Very cute!
ReplyDelete