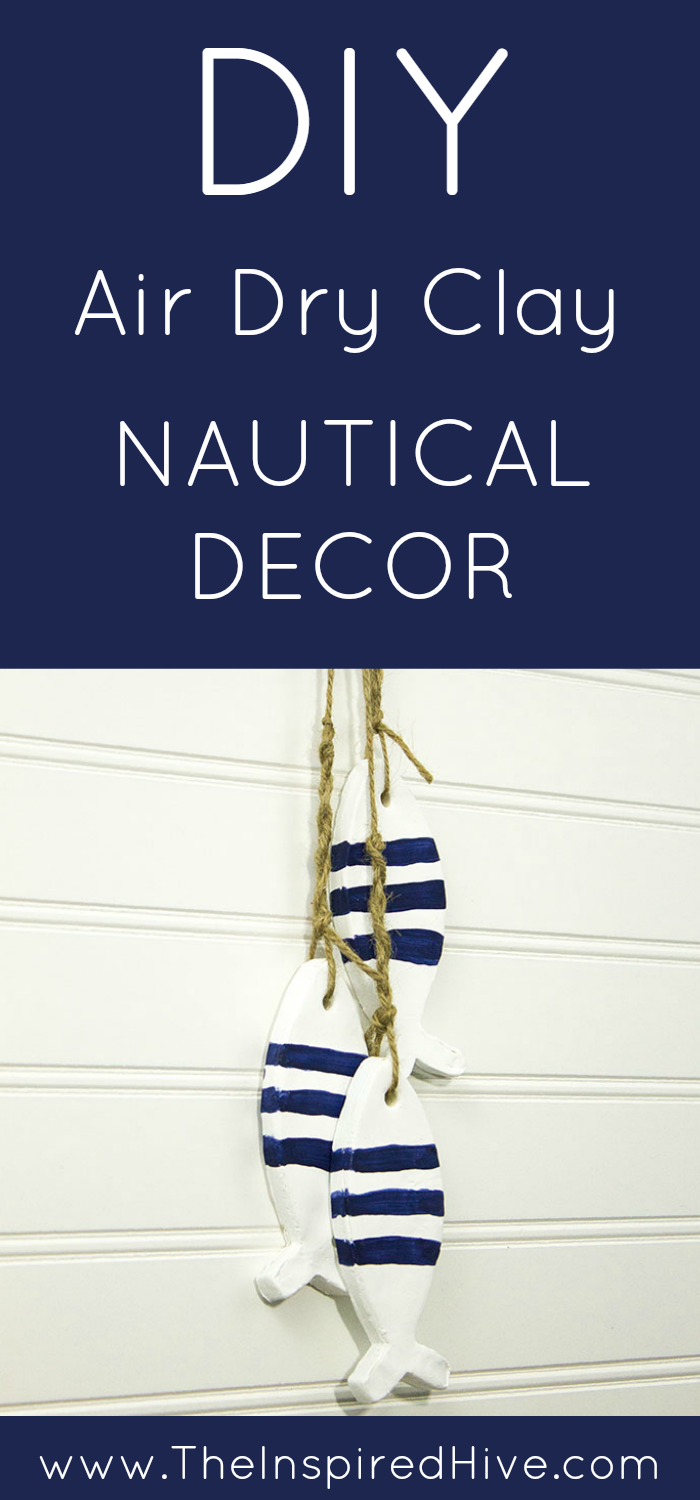
As much as my friends and I love the Monthly DIY Challenge, not all of our challenges are a success! Some challenge themes are quite difficult to work with, and this month was pretty tricky!! This month we worked with air dry clay. We've come up with some pretty cool projects, but some of us have some lessons learned to share, so be sure to check the rest of the projects out at the bottom of this post!!
This post contains affiliate links for your convenience.
See my full disclosure policy.
I'm fairly pleased with how my project turned out, but I still found air dry clay to be difficult to use. I was expecting the ease of playdough, but it just wasn't the same! I definitely recommend doing a little research to find tips and tricks on working with it before you take on an air dry clay project! I'm happy to share what I learned!
For my project, I decided to make some wall decor for my son's bathroom. We plan on doing a nautical theme because it's fitting for kids and guests. I decided to make some hanging clay fish. My idea was inspired by these adorable coastal wooden fish at Target.
Materials:
-Crayola Air Dry Clay
-Wax paper
-Rolling pin
-Fish shaped cookie cutter
-Acrylic paint
-Twine
How to make air dry clay nautical decor:
First, I lined my work space with wax paper. I flattened a large chunk of air dry clay on top of it, and then covered it with an additional piece of wax paper to keep it from sticking to my rolling pin. I rolled it out smooth and tried to get the thickness as even as possible. It's important to make it thick enough that it won't crack or curl as it is drying, however, making it too thick can increase drying time and make it heavy!Then I pressed a fish shaped cookie cutter into the clay. I used a butter knife to scrape away the excess clay, but you can also buy a tool set for working with clay if you prefer not to use your kitchenware.
To make the hole to hang the fish from, I used the end of a beater from a hand mixer! I'm all for using what you have on hand, but if you work with clay often, these clay hole cutters would probably come in handy.
I also made a clay bead by rolling a ball of clay in my palms and then poking the beater through the middle of it.
After you cut out the shapes, if you have uneven areas or sharp edges, put your finger in a little bit of water and lightly smooth it over the surface of the clay. You don't want to over-saturate it, but you can easily smooth out small imperfections with a drop of water!
The clay must dry for 24-48 hours. It helps to flip it over halfway so that it dries all the way through.
Once dry, I gave all of the fish two coats of white acrylic paint.
Then I painted three stripes down the middle with navy blue paint. I allowed the lines to be imperfect to add to the coastal feel. I also painted the clay bead blue.
I used twine to hang the fish. I wanted the knots to have a nautical vibe, so I asked my husband to help me create a knot inspired by a fisherman's knot. To create the knot, first, you thread some jute twine through the hole, and then wrap the twine around itself a few times.
Then thread the end of the twisted twine back through the loop at the bottom.
Pull the twine tightly through the bottom loop.
Then, I tied it off with a regular knot to keep it secure and make it a little more decorative. Cut off any excess twine.
I created the same knot for each fish and then, staggering the lengths of the twine, I tied all three together with an ordinary knot.
I threaded the painted clay bead onto the twine right above the knot.
Then, I created a hook for hanging the decorative fish by making a loop and tying it off right above the clay bead. I cut some of the excess twine off, but I liked the look of a little bit hanging down, so I ended up leaving a few inches.
I think it turned out pretty cute, and I can't wait to get started on the bathroom so I can get them hung up!
8 Air Dry Clay Projects:
Ready for more air dry clay projects? See my friends' projects below!Want to see more of our Monthly DIY Challenge projects? Click the logo below! Interested in sponsoring one of our challenges? Contact me through my contact form!

*This post may contain affiliate links. See my full disclosure policy.


This is SO adorable! I love the blue stripes!
ReplyDeleteI am obsessed with these fish. I am TOTALLY making them for my mom. She will flip over them. Thanks for the awesome idea, Nicole!
ReplyDeleteThis is such a creative idea, Nicole! Love the added detail of the painted bead at the top.
ReplyDeleteI love these little fishies!! Such cute decor! And your knotting is amazing - the perfect finishing touch!
ReplyDeleteThese are so cute Nicole!! PERFECT for a little guy's nautical bathroom :)
ReplyDeleteI love these! I was just admiring the Target ones last week. Never thought to make them myself! I love how you knotted the jute. Such a nice touch!
ReplyDeleteThese are perfect for a nautical bathroom! I can't wait to see how the rest of it turns out!
ReplyDelete