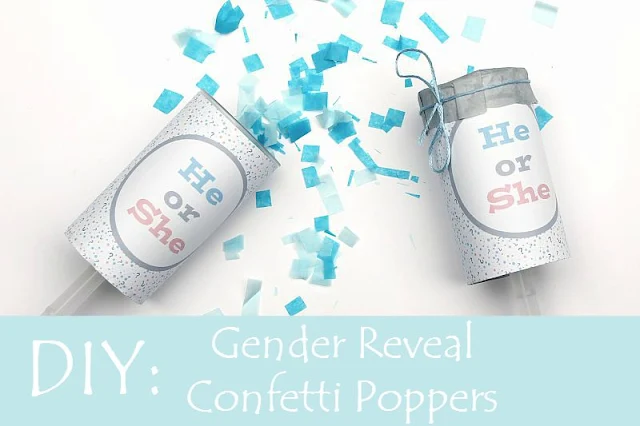
Tutorial on how to make your own confetti poppers for a gender reveal party
Since my husband and I already knew the gender and the reveal was more for our family, we wanted to do something that everyone could participate in as opposed to us standing in front of everyone and opening a box of balloons or something along those lines.
I love all of those types of reveals too, but I just thought it seemed less exciting if you already know the gender yourself!
We also were hoping all of our nieces and nephews could attend, and they would have thought confetti was a blast!!! That is how the confetti idea was born, but unfortunately they were on vacation and couldn't make it. It was still fun anyway (who doesn't like confetti?!?!), and definitely made for cool pictures! Our moms reactions were both priceless!
Once we decided on confetti, I started researching popper ideas.
I found tons of super adorable ones on Etsy, but most of them seemed like something I could make myself, so I decided to give it a try! It also gave me another opportunity to play with my Silhouette software, which I am trying to get more practice with!
So today, I'll show you how you can make your own confetti poppers!
This post contains affiliate links. Please see my full disclosure policy here.
- Third trimester must haves
- What's in my hospital bag
- My favorite newborn items
- 10 Long distance gender reveal ideas
Before we begin, I have to say, I wrote this post the morning after working three night shifts, and when I proof read it later on, I was dying hysterically laughing. I made so many really weird errors while apparently dozing off writing. LOL. Just goes to show you how human I am! I proofread this over and over again so hopefully you don't find any other really weird random things that don't make sense ;) Excuse my combo of night shift brain and pregnancy brain :) Oh, the struggles!
Materials:
- label paper or Silhouette sticker paper
- Silhouette Studio or the design program of your choice
- plastic cake pops
- tissue paper
- pink and blue embroidery thread or thin ribbon
How to make Silhouette labels for your confetti poppers
First, you need to measure your popper tube to find out how large to make your stickers. I wrapped a piece of string around the popper to get the diameter (for sticker length) and then measured the string with a ruler.
Then, in Silhouette Studio, use the rectangle tool and drag the edges to match your length and height. Silhouette Studio is kind enough to display the rectangle size in inches so that you know exactly how big it will be when printed! Perfect!
Next, I just added some shapes.
I created a grey circle and then put a white circle over top of it in order to create a grey outline around the circle. There's probably an easier way to do that too, but I couldn't figure it out :)
Then add the text of your choice and change the colors. I used the little color match tool to use the same shades for the font as the shades in the background.
Then you want to make the entire sticker into one shape instead of multiple layers of shapes so that you can move it around as a whole unit. There's a simple button for this in the bottom left corner of Silhouette Studio.
Once you've merged all of your layers into one shape, you can right click, copy, and paste to duplicate your sticker and print more than one per page.
If you plan on using your Silhouette Portrait or Cameo to cut out your stickers, head to the print and cut settings to add your registration marks.
I found that even on the lowest cut setting, my Portrait cut all the way through the label paper, so I ended up cutting them out myself using my Fiskar paper trimmer.
I used the label paper because I had tons of it on hand, but if you want to use your Silhouette for cutting these out, I suggest trying Silhouette's new sticker paper instead!
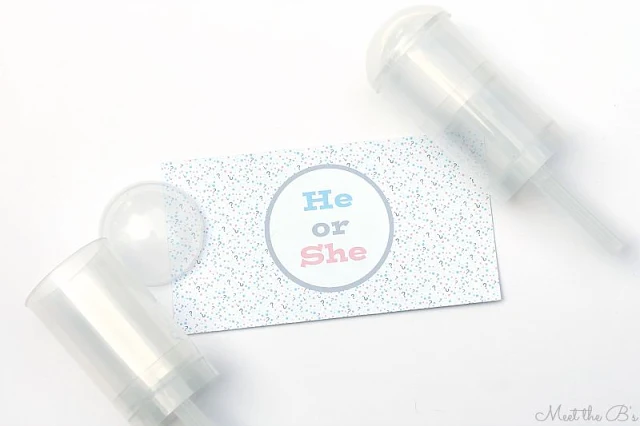
Here they are, printed and cut! I love how they turned out! Not bad for an amateur designer 😉
How to make the confetti popper
Remove the lids from the plastic cake pops. No matter how hard I pushed on the plunger, I couldn't physically pop the lid off, so I knew that would be an epic fail for the reveal. I ditched the lids.
Try not to touch the poppers. The oils from your hands will make it harder for the stickers to stick!
Carefully peel the backing off of your stickers and apply them to the poppers. These particular poppers are not perfectly cylindrical, so I did have a tiny bit of overhang.
*Tip- At this stage, I ended up painting the inside bottom of the plunger with grey acrylic paint to keep cheaters from peeking at the confetti color through the clear bottom! Unfortunately, I forgot to take a picture of that part! You couldn't see the paint unless you turned the popper upside down, but I knew I had to block the confetti color somehow for the sneaksters!!!
Once we found out the baby's gender, I filled the poppers with confetti (blue or pink!). I made my confetti myself by cutting tissue paper into small pieces. You can also easily buy confetti if you'd prefer, but it was super easy to fold tissue paper, cut it into strips, stack them together, and then cut a bunch of squares at once.
I used grey tissue paper to cut out circles for the tops. My husband and I scrunched the tissue paper circles over the top and used pink and blue embroidery thread to tie them on. (You'll need octopus arms or a helper for holding and tying at the same time!)
You can also use ribbon, yarn, whatever you like! We did a few test runs to make sure these lids were "poppable," and they were much easier than using the plastic lids that came with the poppers... and cuter!!!
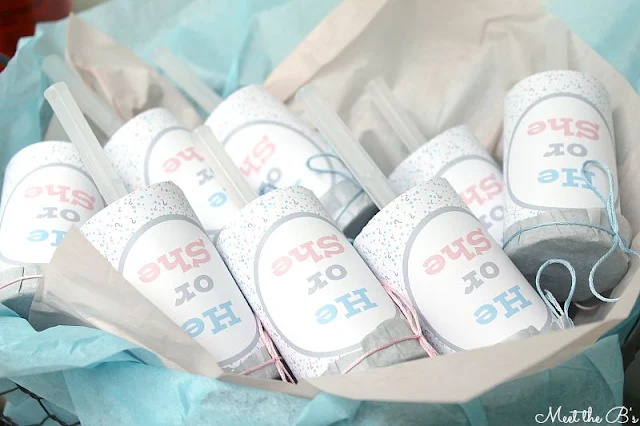
I put them on display at the gender reveal party in a wire basket lined with pink and blue tissue paper.
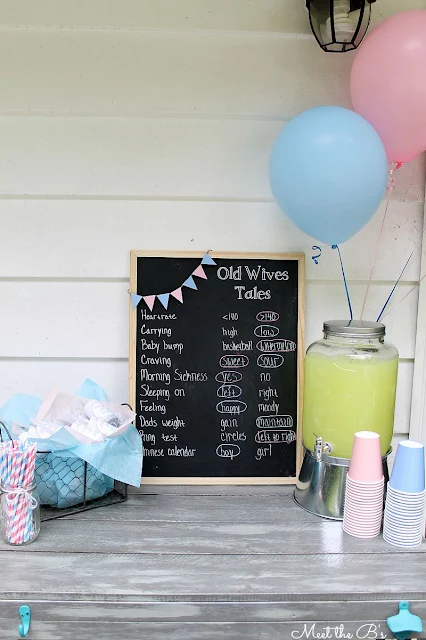
The guests were all curious what the heck those things in the basket on the beverage cart were until it was time for the big moment!
I passed one out to everyone, set up my tripod (more on how to take your own group photos coming soon), counted to three, and...... POP! Blue confetti!!! It's a boy :)
I just love the shocked look on both of our mom's faces! The video we took is even better, but its too long to share.
The confetti poppers were a big hit and so fun!!! They were easy and affordable to make. Perfect if you're looking for a DIY gender reveal idea!
We're all so excited to meet our new little man! Click the photo below to see the rest of our gender reveal if you missed it last week! :)
Pin it for later!









No comments
Post a Comment