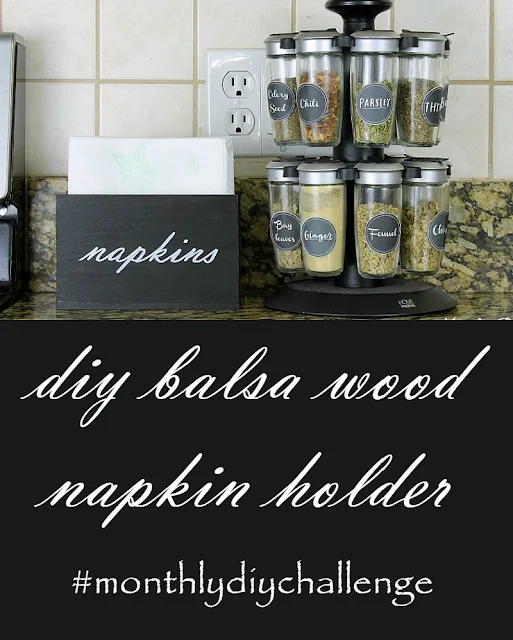
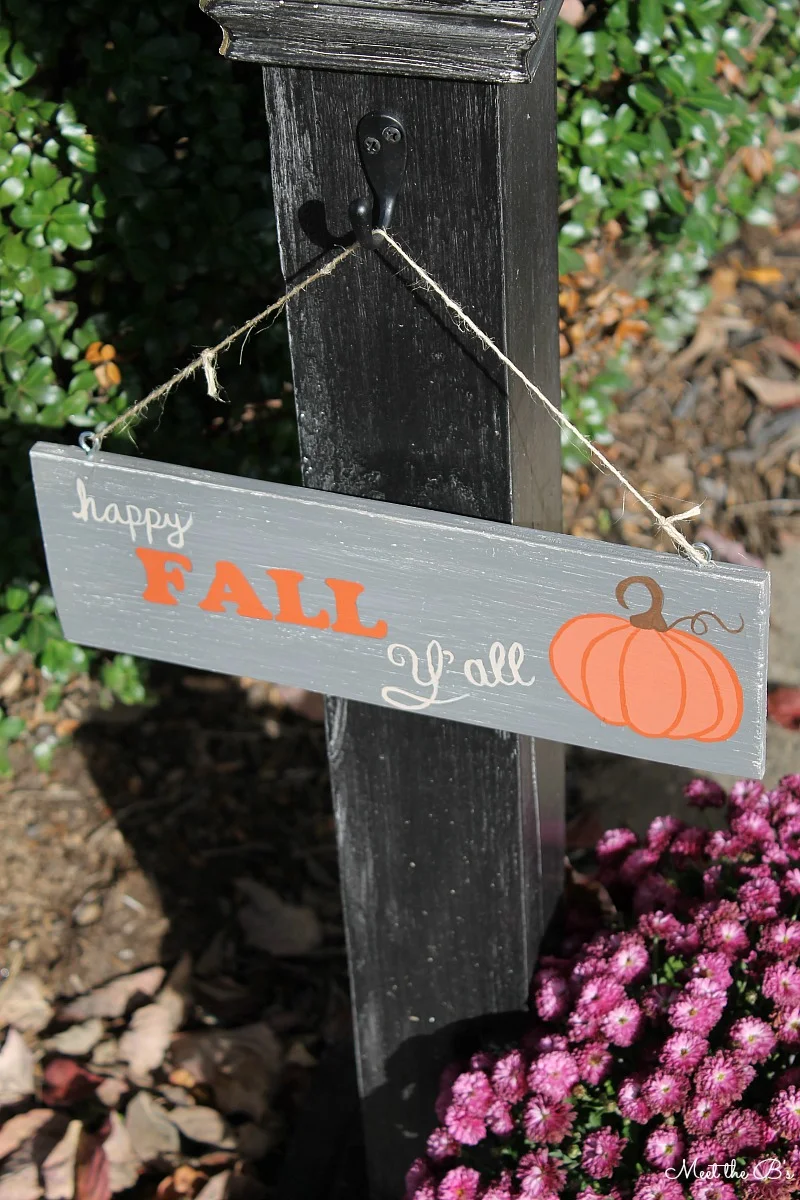
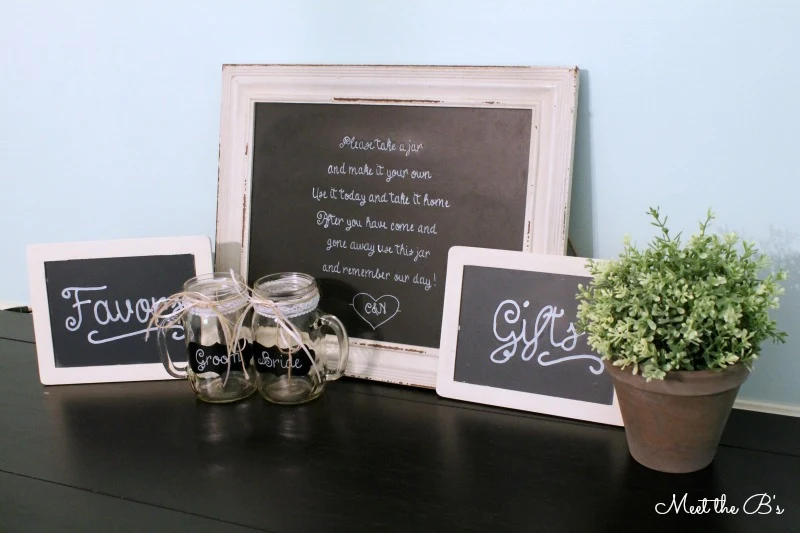
Ever wanted to make your own wall decor, farmhouse signs, last name signs, or quote art? It's really simple! I love making my own word art for signs, wall decor, and more! It's such an easy way to decorate and is the perfect touch to so many projects! Anyone who doesn't own a Silhouette or Cricut but is dying to create their own typography art or DIY quote art should try their hand at this simple font transfer method!!
This page contains affiliate links. Please see my full disclosure policy
How to transfer text to make your own signs:
- Find your favorite font and type the desired text into the editing program of your choice. Sometimes I just use Microsoft Word, sometimes I use a photo editor like PicMonkey or Photoshop Elements if I want to arrange the letters a certain way or add graphics that I want to trace.
- Print your text and cut it to size.
- Shade the back of your text with a lead pencil (or chalk for chalkboard art)
- Arrange your printed text on your project surface.
- Trace the text with the pencil.
- Remove the printed text to reveal a lead outline of the text on your project surface.
- Trace the outline with a pen, marker, paint, or whatever you desire.
- Enjoy your new DIY word art!
My favorite materials for sign making:
- Lead pencil- You'll need a pencil for shading the back of your printed text for most projects.
- Chalk- For chalkboard art, I transfer the printed text by shading with chalk.
- Archival ink marker- I prefer to use a marker for tracing my text. It is easier to control and looks very crisp when completed. This marker is my favorite. Archival ink is important because it is fade resistant.
- Paint markers- Using a fine point paint marker is another great option.
- Chalk marker- Perfect for making chalkboard art and chalkboard signs. My favorite chalk markers are from the Bistro brand.
- Thin chalk- I prefer using a chalk marker for chalkboard signs for more crisp, clean lines. But if you would rather use real chalk for that authentic look, I like using thin chalk to fill in the letters. It's much easier to control than regular sized chalk!
- Detail paint brush- Using paint is my least favorite way to fill in the transferred letters, mostly because it takes the longest and requires the most control and focus. But if you have a steady hand and lots of patience, I recommend using a small, angled, detail brush, like the angled one in this set.
Ideas for DIY signs and wall art:

DIY Farmhouse Style Chalkboard

DIY Wood Slice Wall Art

Welcome To Our Home Canvas

DIY Succulent Planter Housewarming Gift

Wooden Crate Pet Bed

Farmer's Market Sign

Napkin Holder

Wine Cork Collection

Book Storage Crate

DIY Patio Rules Sign

Modern Industrial Collage Wall

Dining Room Wall Art

Last Name Gift

Mail Tray
Chalkboard Wall Art

Spring Planters

Fall Painted Sign

Pumpkin Cookie Jar

Wood Burned Cutting Board

White Washed Wood Sign

Woodburned Ornaments

Repurposed Cutting Board

Repurposed Cutting Board

Repurposed Cabinet Doors

Nursery Height Board

Family Name Sign Gift


Thanks for the tutorial, just wondering what font that is?
ReplyDeleteThanks,
Hi Krystle! The font is Antrokas Demo, one of my favorites!!!! :)
DeleteGenius idea Nicole!!! I'm going to have to try this in the near future!!!!
ReplyDeleteBecki
www.becomingbasicallybalanced.com